


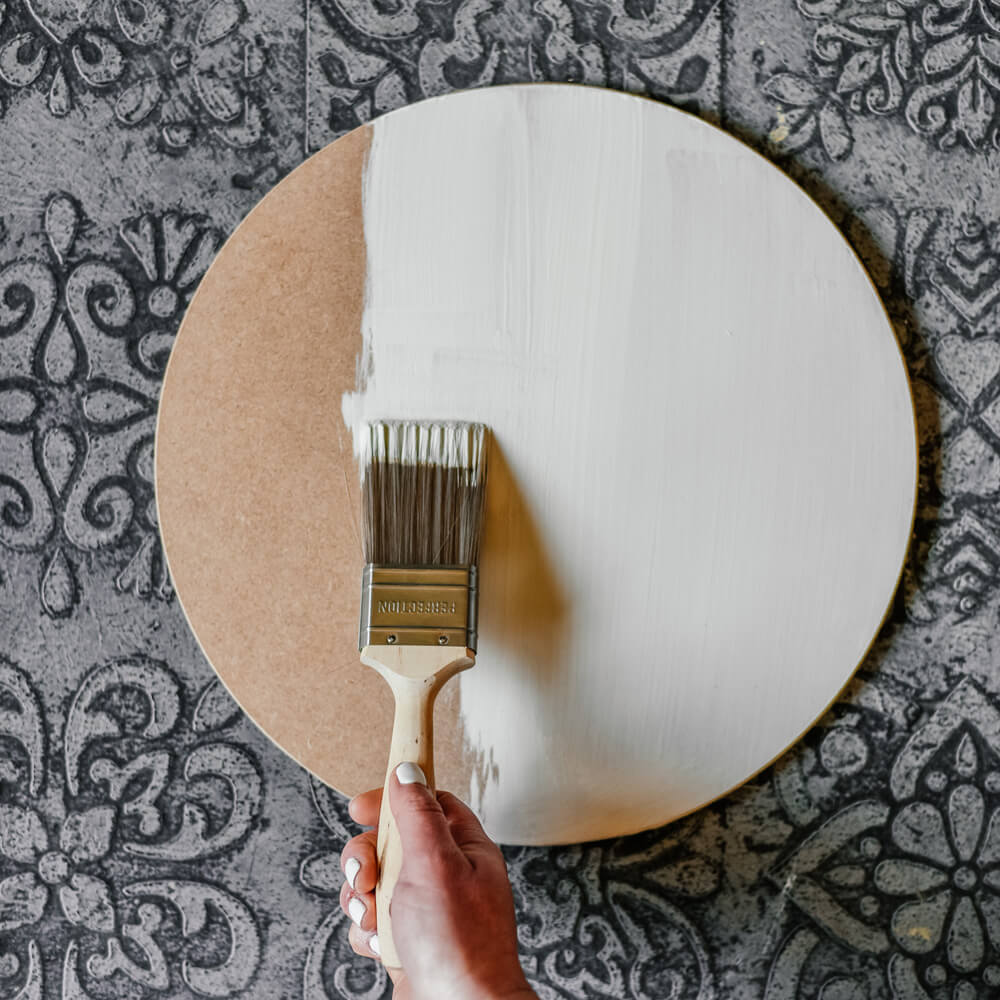
Step 1
Paint your surface in two coats of a neutral Tjhoko Paint Colour as a base for your decoupage.
Suggested – Cloud White, Da’vid, Lebo’s Light.
Should you rather want a colour to show through your decoupage sheet, look at the lighter toned Tjhoko Colours.
Step 2
Trim your decoupage sheet to it fits on your item, for items with edges, trim your sheet a little bigger to overhang – this makes application and positioning easier.
For inside bookshelves, cupboards, walled trays, inside drawers etc, where a specific size is needed, place your decoupage sheet in the space and lightly mark with a pencil or by folding and then cut the exact size. Position your decoupage sheet on/in your item.

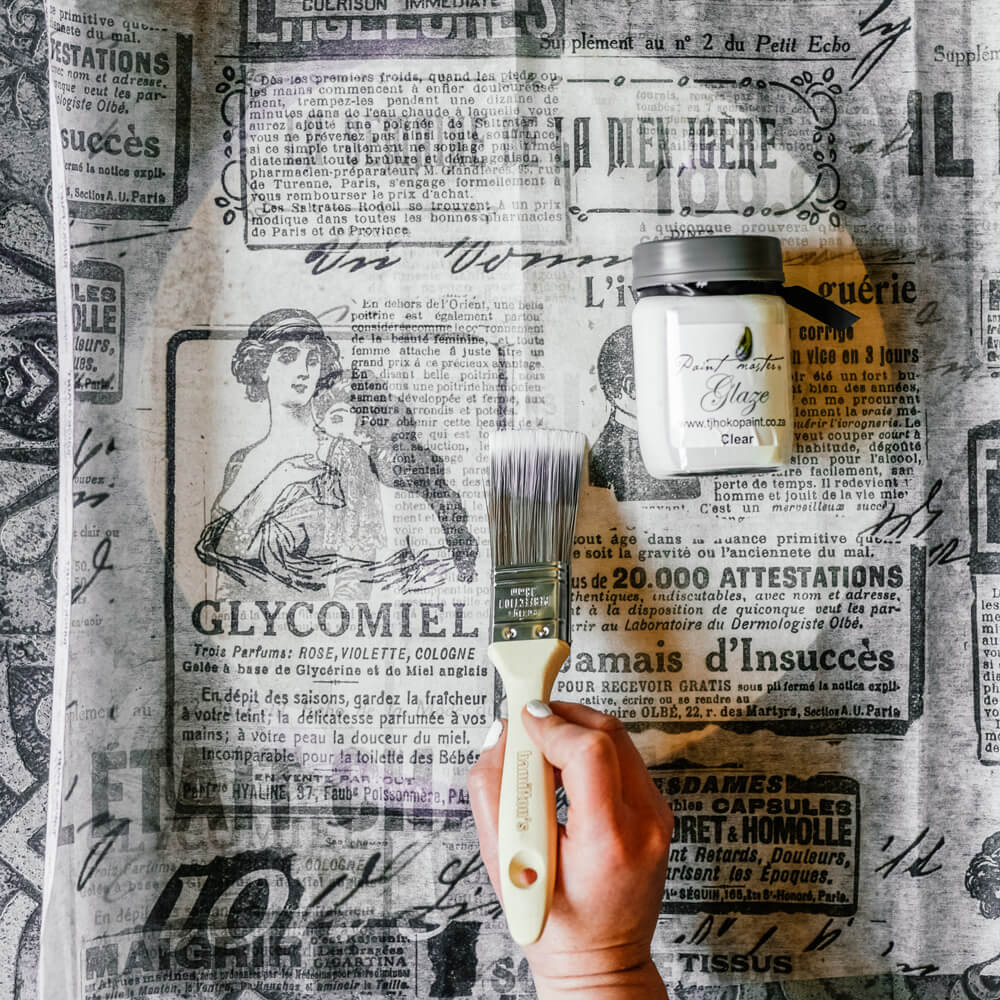
Step 3
Apply your decoupage sheet to your surface by brushing over your sheet with Tjhoko Paint Clear Glaze, being sure to apply your glaze thoroughly all over your sheet. Should folds be visible lightly smooth them out with your finger or carefully pull either end of your sheet to level out the print.
Folds can also be removed prior to application by ironing them out with a cool to medium iron, being sure to cover your decoupage sheet with a handkerchief or pillowcase.
If you are uncertain which heat to use due to varying irons, test on a small corner of your decoupage sheet.
Step 4
When necessary to trim after application – use 100 grit sand paper in an up and down motion on the edge of your item to sand loose the edges of your decoupage paper and have it fit your surface perfectly.

Please note:
Due to differences of batches and printing processes and trimming sheets, slight sizing differences across sheets can be expected.
The designs have not been designed to pattern repeat.
Follow us on Youtube, Facebook, Pinterest, Instagram and TikTok for more inspiration, how-to’s and DIY’s
Just search for @TjhokoPaint